
Maintaining your safety razor is a vital step to ensure that you continue getting the best shave every time. With this, changing your safety razor blade is a key step to take. Changing the blade in most safety razors takes less than 10 seconds. Blades are also incredibly cheap so if you’re like me you change them with every shave.
Changing your safety razor blade only takes a few steps and about ten seconds of your time. To start, figure out what blade closure mechanism you have. For butterfly-style safety razors, grasp the handle with one hand, and twist the bottom of the hand with the other to open the mechanism. For two or three-piece safety razors, the entire headpiece screws off revealing the blade. Next, remove the old blade and discard it into a proper container. Lastly, replace the blade with a new one and reassemble or close your securing mechanism. You’re all set!
A few things to remember include:
- Always handle your safety razor head on the sides without the blades, typically the short sides of the head.
- When changing your safety razor blade, be sure to clean your handle and mechanism with a good cleaning agent such as a spray disinfectant made for razors and clippers.
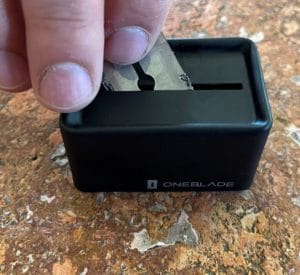
- Never discard used safety razors directly in the trash. There are specialty disposal containers made specifically for this purpose. I got a free one recently with a purchase from OneBlade and I love how compact and simple it is. If you’re interested, you can find one here: Feather FHS-10 Single Edge Razor Blades (30 Count) with Blade Recycling Bank

Now that we have the basics covered, let’s go a little further in-depth.
Types of Safety Razors
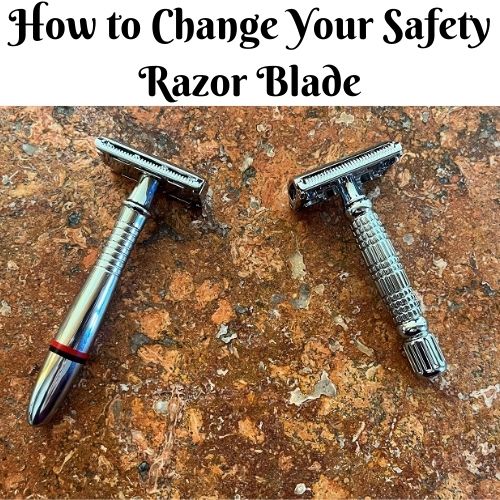
In the world of safety razors, there are primarily two types, single-bladed and double-bladed. However, we will be focusing more specifically on the types of closures. For safety razor closures, there are butterfly style and multi-piece heads (two and three-piece). I have tried each type extensively and can easily say that there is very little difference in the shave you get, it’s all preference.
Butterfly Safety Razor
The butterfly-style safety razor is convenient in that it has a closure mechanism that is all in one. To open the mechanism, you simply need to twist the knob at the base of the handle. The cap of the head will spread open so that you can easily remove and replace your razor blades. The only drawback of the butterfly style safety razor is that it might be a little harder to clean well and the mechanism has the potential to break or stop working.

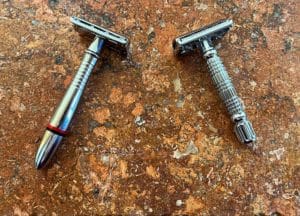
The example shows one of my favorites of this style, The Chieftain by Vikings Blade. It is short and light but is very precise. If you’d like to check it out, see my review post Vikings Blade – The Chieftain Review.
Two and Three-Piece Safety Razor
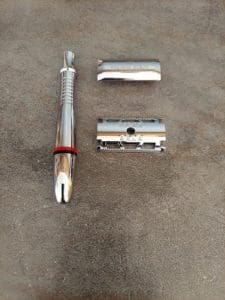
Two and three-piece safety razors have a head that comes completely off of the handle. To remove the head, you simply twist the entire assembly off, removing the cap or the cap and plate entirely. While they may be more of a hassle to switch blades with, a two or three-piece safety razor is far easier to get clean than a butterfly setup.
In this example, we have The Godfather by Vikings Blade. I love this safety razor in particular because of its weight and length. This thing has become my daily shaver until I find one that I prefer, which I’ve tested many and nothing compares. If you’d like to check it out, see my post Vikings Blade – The Godfather Review.
Changing The Blade of a Butterfly Style Safety Razor
 As we covered above, changing the blade of a butterfly-style safety razor is lightning fast as the entire mechanism is built into the handle. To change the blade, simply grasp the handle in one hand and twist the knob at the base with the other. The top mechanism of the razor will open revealing the blade which then can be removed and disposed of in a proper storage container.
After a good cleaning, replace your blade by inserting the new one where the old one was. Note that there is a piece of metal protruding from the middle of the plate which fits perfectly into the slot on your new blade. Once you have your safety razor replacement blade in, simply tighten the knob on the base of the handle of your razor. Remember to get the mechanism tight, but not too tight!
Changing The Blade of a Multi-Piece Safety Razor
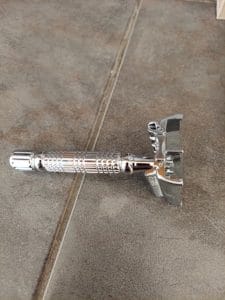
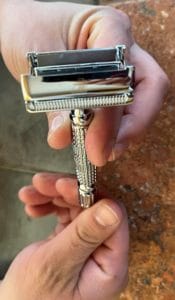
Changing the blade of a multi-piece safety razor takes a little bit more effort but is essentially just as easy. To begin, grasp the handle of the safety razor in one hand, and twist the head counterclockwise with the other. Be sure to only handle the head of the razor on the sides that do not have an exposed blade.
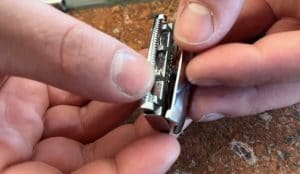
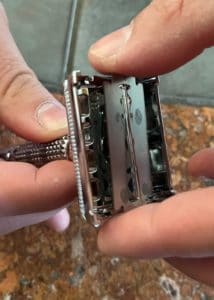
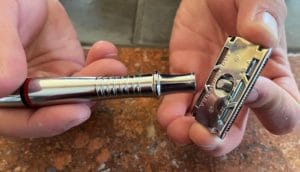
Once you have removed the head, you can set aside the handle. As seen in the image, you now separate the headpieces to reveal the blade inside. Remove the blade and clean the pieces of your safety razor head. To replace your blade, simply place the safety razor replacement blade on the plate of the head and insert the cap screw through the center hole of the blade. Once you have the pieces together, you can screw the entire head assembly back onto the handle.
Maintaining Your Safety Razor
Maintaining a safety razor is very important, unlike disposable cartridges. With disposables, you simply chuck the old worn-out razor in the trash and grab a new one. Safety razors, on the other hand, are meant to last a lifetime if properly maintained.
A great practice is to thoroughly clean your safety razor handle each time you change the blade. Also, whenever you finish shaving, be sure to rinse and dry your safety razor well. Storing your razor in a dry location away from any contaminants is also a great practice.
Final Thoughts
Changing the blade of a safety razor can seem like an intimidating task to a person newer to this type of shaving. However, with little practice, you can master it and learn to do it in seconds. Choosing the style of blade closure for your safety razor is far less important than learning to properly maintain your razor. When properly maintained, a safety razor is a shaving device that can not only last you a lifetime but provide you a great shave for the entire duration as well.